Showing posts with label Blackberry Bliss. Show all posts

Tuesday, 26 April 2016

Votive Candle Box

Hello bloggists!

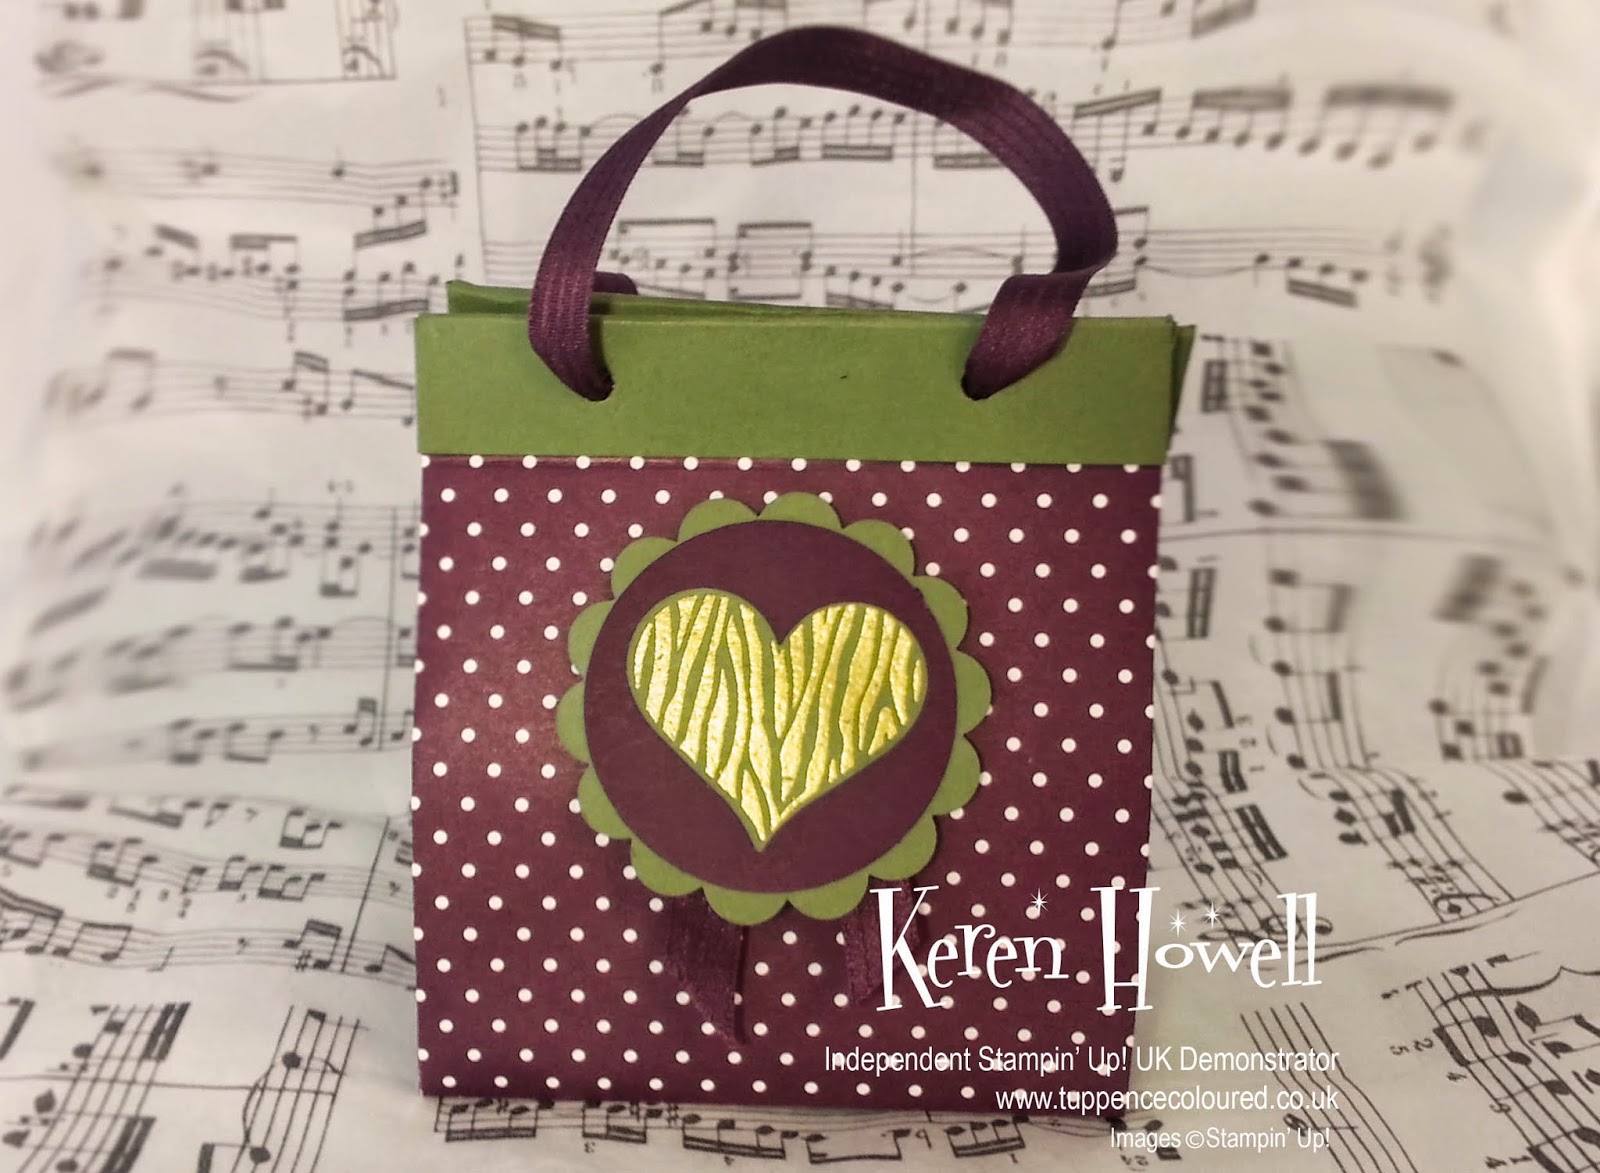
Have you seen the retiring list on the SU website yet?  I must say that, when I got to see it, there were some huge surprises - things that I thought would never retire, like the Note Tag punch - as well as things that we knew would certainly or probably retire - like the Blackberry Bliss card and the Bohemian DSP - so today's project is one in the "use it up before it goes" category.

I made this box to hold two Yankee Candle votives, which would be a nice small gift.


Happily, though, it looks as if the Grateful Bunch stamps and the Botanical Builders will be with us a while longer.  

See you soon,

Crafty Hugs,

Keren

Saturday, 16 April 2016

This is a recorded message..

...because I'm away at the Stampin' Up! conference, On Stage Local.

When you join SU as a Demonstrator, you aren't left on your own to sink or swim.  There are lots of resources to support you - the leader of the team you join (your Upline), online training to show you how to use the products, organise a workshop (if you want to), build a business (if you want to) - there's so much to help you (and if you want to know more about joining SU, I'll be glad to help - see here)

Anyhow, three times a year we launch a new catalogue - the annual catalogue which lasts all year from June to the end of May, and two mini catalogues for autumn/winter and spring/summer.  Ahead of the launches there's an opportunity to attend a conference and find out what's new.  And I'll be going to the local event for the UK and I am SO EXCITED!

One of the things that we demos do is make swaps - so you make a pile of things all the same and then swap them, so that you come back with a lot of inspiration from other demos (we're all about sharing!)

These are what I'm taking - 
Inside there's either a sachet with a refreshing wipe or a teabag (I ran out of wipes!) I'm looking forward to coming home with a lot of lovely things - I promise I'll show them to you!

Because I'm going to be away when this goes up, I'm scheduling the YouTube tutorial so can't link it here (I don't know why but Blogger refuses to recognise Tuppence Coloured but insists on using my other channel as "My YouTube") - but you can find the tutorial from the link at the side of the page.

Back soon!

Crafty Hugs,

Keren

Tuesday, 18 August 2015

Gotta Lotta Bottle

Hello and welcome to my blog.
Today I'm sharing how I made this neat little gift bag.  The festive season will be upon us almost before we know it, and of course, birthdays happen all year round, so it's useful to have some gift bags or boxes handy.  This bag can be made up ahead of time and stored flat, which is convenient.


Here's the cutting/folding diagram - 


And here's the tutorial.


Oh, and in case you were curious, oil in the bottle is a combination of yang-ylang, lavender, and rose essential oils in a carrier oil.  It smells WONDERFUL!  

Thanks for visiting - hope to see you again soon!

Crafty Hugs

Keren

PS - Don't forget that the new Autumn/Winter mini catalogue goes live on 1 September and my customers will be getting their copy through the post direct from me.    Get in touch with your SU Demonstrator for your copy!
Built for Free Using: My Stampin Blog

Tuesday, 16 June 2015

Resistance is ...


Hello and welcome to my blog.

Today's card is based around a "resist" technique, where the stamped image is heat-embossed before the colour is added - in this case, I spritzed on some SU re-inkers diluted with water.  I'm rather pleased with how it turned out.  I showed it to my husband and he just couldn't work out how the effect was managed - he was very impressed!

It's an easy technique;  you just need to remember to use a paper that can stand getting wet (I used Watercolour paper) and allow plenty of time for it to dry properly.  

Here's the tutorial - 


I hope you enjoy trying this one for yourself.  Please leave me a comment and let me know how you get on!

See you again soon!

Tuesday, 9 June 2015

Taking Note

Hello everyone – thank you for visiting, so glad you did! Last week the new Stampin’ Up! Catalogue opened for business and I can finally get to tell you about some of the lush new products that we have for you. As demonstrators we get a sneaky peek of what’s going to be on offer and we can order some things in advance (one of the perks of being a demo!*) so I’ve been playing with the Bohemian Designer Series Paper. 

This is going to be my new favourite, I can tell! Today’s project - a holder for a pad of sticky notes and a pen – was inspired by similar holders that I’ve seen on Pinterest and YouTube and would make a nice quick gift for a teacher or someone who works in an office. 

Measurements are – Cardstock 7 ¾ x 5 1/4

Score at 3 1/4, 3 5/8  and 4 1/8.

I always send my customers a small gift as a thank-you for shopping with me - so if you purchase through my SU store in June, you might get one of these...

*Speaking of the perks of being a Stampin' Up! demonstrator, this month (June 2015) there's an extra incentive to join.  As well as the usual discount on the starter kit, if you join SU before the end of the month you can choose two stamp sets (any value) absolutely FREE.  You can find out more here.


Thank you for visiting - hope to see you again soon!
Built for Free Using: My Stampin Blog

Saturday, 16 May 2015

It's in the bag!

Hello everyone.

As promised, today I'm sharing what I'm taking to the SU regional event for swaps.  I spotted this sweet little bag on Pinterest (by Sylvie) and had to make my own version.  


I love that it folds flat so I could make a lot of them in advance.  The ones I made for swaps didn't have handles and were made from card rather than paper (I was using up the supplies that are retiring) and I decorated them with the Butterflies die-cuts and stamps from the Butterfly Basics and Banner Banter sets (both of which will still be available in the new catalogue from June 2 - whew!)

Here's the tutorial - 


I thought it might be helpful if you could see a diagram of the scoring pattern , so here it is-


I hope you'll try this one and that you enjoy making it.  Please let me know if you do.

See you soon!