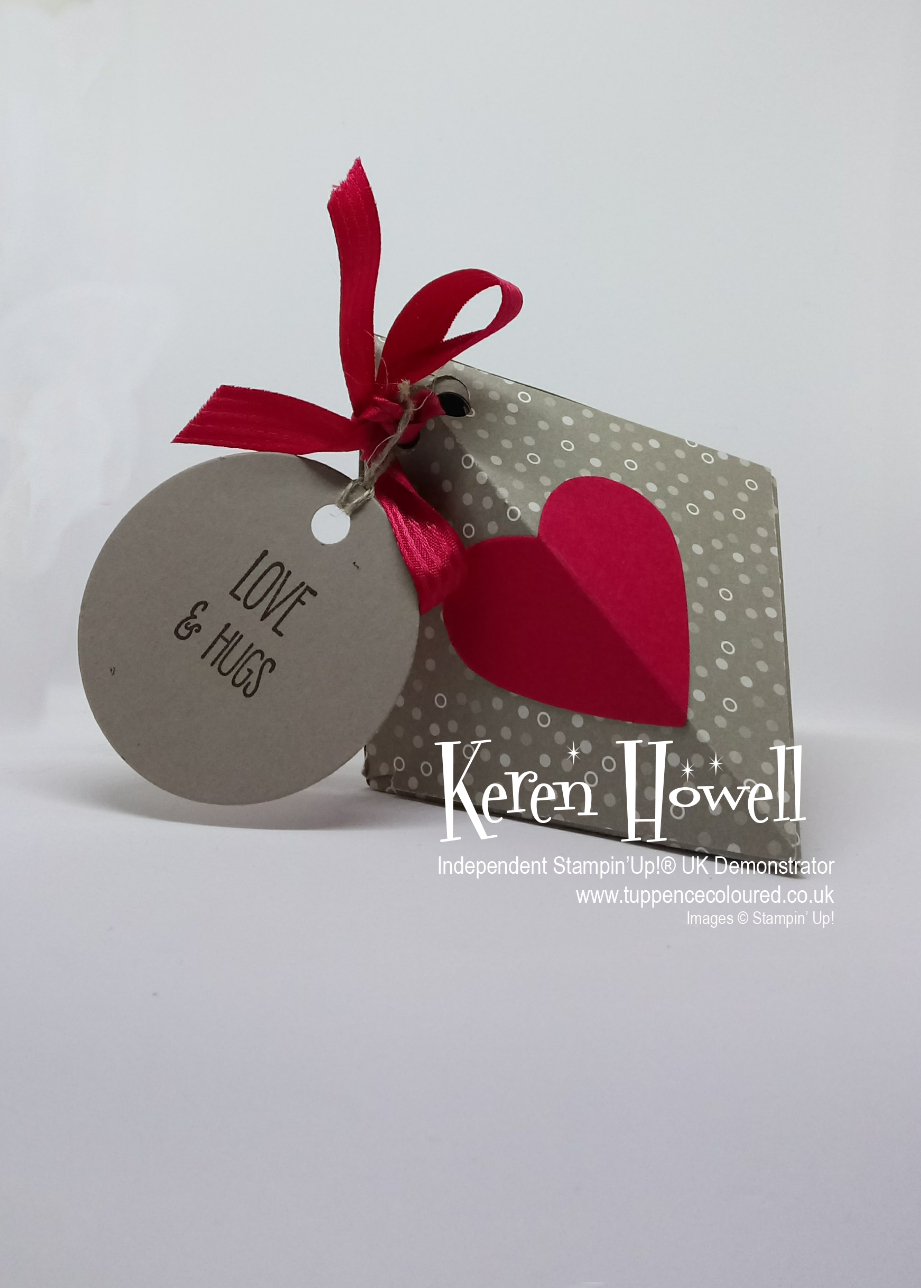
Sometimes I have lots of ideas for projects, and sometimes the ol' crafty mojo goes walkabout - does that ever happen to you? Fortunately there are plenty of resources - magazines, blogs, YouTube and good old Pinterest - to help when Crafter's Block strikes.
The Stampin'Up! catalogue is just chock-a-block with inspiration and that's what I've been CASE-ing (that's Copy And Share Everything) for today's project.
Here's the video -
The stocking on the left is my version of one in the catty. The one on the right was me using up scraps and leftovers from a previous project. I really like this colour combination and I may have to rethink my Xmas deccies this year...hmm....
Things don't always go to plan...what to see what happened this time?
Thank you for joining us for another Simply Sketched Saturday Challenge! We’re so excited to be sharing this hop with you. The products used are all available in the current Annual, or seasonal, Stampin’ Up!® Catalogues*. Simply use the buttons at the bottom of the post to keep hopping.Here's this week's sketch, set by Heidi-
This is what I've come up with -
I just wanted to play with the Brights DSP before it retires at the end of May, so I kept it fairly simple.
Fancy seeing what Lynn's made of the sketch? Just click below to go to the
Or if you're going through the hop backwards (it's a free country!) then you might want to visit Jillian at the
Thanks for visiting, and do come back again soon! Crafty Hugs, Keren
Inspiration comes from strange places sometimes. I was shopping when I saw treat boxes in the bakery section. They had a clear display window and were a good size to fit some cupcakes or cookies. And I thought, I wonder if I could make something like that?.
This is my version. I used the Project Life Paperclips dies. This set seems to get overlooked a bit, but it's a very useful basic set.
Hello bloggists and welcome. I love paper. I just do! There's something very satisfying about taking a sheet of it and turning it into something-a greeting card, a box, a flower... At one time, I was very interested in origami. It's a fascinating subject and I was very intrigued at the way folding pieces of paper could create models of animals or boxes or just elegant shapes. It doesn't need much equipment or take up much room. You begin with the very easy folds and then progress to the more complex.
Today's project is a very simple fold. It's modular origami, where a number of simple pieces lock together to create a more complex piece. Here's how it goes together -
You can vary the size just by using smaller or larger squares of paper and tiny boxes made from shiny paper would make cute tree ornaments (it's never too early to start planning for Christmas, right?) And on that happy note, I'll sign off! Crafty Hugs Keren
Hello bloggists , welcome to my blog. Well, it's here - the new autumn/winter catalogue! Have you seen it yet? I'll be putting a link to the downloadable version at the bottom of this page - but there's nothing like getting your hot little hands on the real thing, so let me know if you're in the UK and want a copy (email me with your details - keren@tuppencecoloured.co.uk). Can you spot what's new on today's project? It's the kraft trim the looks just like rope to me. It's really soft and pliable though, not like rope at all. This box holds the pillar candle that I decorated last week - I've been asked to show how to make one and your wish is my command (and there's another box to hold the stone coaster following soon!) The box needed to have a base that was 3 inches square to hold the candle, and that means that it took the full width of a piece of 12 x 12 card with nothing left over...so how did I manage to get it to fit together? Watch the video to find out!
Measurements for the box - 12 x 11 (not as stated in the video!) score at 3, 4 and 9 inches on the 12 inch edge and at 1/2 inch, 3 1/2 inches - turn the card and score at 3 inches. If you follow these measurements you won't need to trim the 1/2 strip off the base of the box. Cut 4 paper panels for the front 3 3/4 by 4 1/4 and one 3 3/4 square for the lid Hope you have fun trying this! See you soon, Crafty Hugs, Keren
“Fun with Flags”, for those who don’t know, is a YouTube channel run by Dr Sheldon Cooper of the Big Bang Theory TV programme. And as my inspiration for today’s post was national flags, I thought it was a good title for this blog.
As a matter of
fact, it was really flags at second hand.
The real inspiration was a polymer clay pendant that I made a few years
ago (and now can’t find to photograph!).
It was heart-shaped, white at the top, green at the bottom, with a small
red heart in the middle. I made a few
variations – a bit like the card toppers today.
Today’s tutorial
also shows how I finished folding a rosette, which got left out of last week’s
video (there was a bit of a technical hitch that meant the crucial bit wasn’t
recorded). Here’s the video –
Hope you enjoyed it.
By the way, can you believe that it’s almost halfway through June already? If you’re thinking about joining Stampin’ Up! as a demonstrator, don’t forget that if you sign up before the end of June you can choose two stamps sets – ANY stamp sets in the catalogue - for FREE as well as your starter kit (£130-worth of items of your choice for a payment of £99).
Thank you for joining me once again. It's a sweet and simple card today. There's something very elegant about a clean white background, with black contrast and a hint of colour. I'll be sad to see the Itty Bitty Accents punches retire - I've used all three of them again and again. The Basic Black Stitched Satin ribbon looks good too and I'll miss it. But...there are some GORGEOUS new things coming in the new catalogue and there has to be room for them. So I'm very positive about the shape of things to come. Is there a tutorial? Of course there is!
I don't know about you but I'm not the world's tidiest crafter. It's not unknown for me to put something down and for it to disappear into hyperspace. I started the base of this card about six months ago, when the 2015-16 Annual Catalogue was published - and then couldn't find it, so went away and made another version. I found it again the other day and it seemed a shame to waste all that good work. So I added a few glimmer paper hearts (punched out with the sweetheart punch) and a sentiment, and there it was.
Today’s
card transforms from one parcel to three.You could, if you wanted, tuck a gift card into the middle layer.
It’s
reasonably straightforward to make – however, you do need to pay attention to
the measurements so that the three layers nest properly.Here are the measurements you will need –
Cut three
pieces of card –
11 ½ by 3 ½,
score at ½ inch, and 5 ¾ inch (finished size 5 ¼ by 3 ½)
8 ½ by 3 ¼,
score at ½ inch and 4 ½ inch (finished size 4 by 3 ¼)
6 by 2 ¾,
score at ½ inch and 2 ¾ inch (finished size 2 ¾ by 2 ¾)
On the
reverse of each piece of card, draw a line ½ inch from the bottom edge.One the medium and large pieces, also draw a
line ½ inch from the top.
Mark the
halfway points for front and back of the finished layers, from the left (where
you scored at ½ inch) –
Large - 3 ¼ (for the notch) and 8 ½ (for the slit)
Medium – 2 ½
and 6 ½
Small- mark on the bottom edge at 4 5/8
Like this -
Cut three pieces of DSP -
5 x 3 1/4
3 3/4 x 3
2 1/2 x 2 1/2
Now see the
tutorial for how it all goes together!
I hope you've enjoyed this project, and I hope you'll give making one of these cards a try. Let me know how you get on - I do love to hear from you.
Oh, by the way - if you like the papers, ribbons and embellishments I used in this card, some of them are being retired when the new catalogue comes into force at the beginning of January - so if you want them, don't wait to order- You can shop with me by clicking the link at the top of the page, or go straight to the item you want by clicking the link below.
Hello bloggers, welcome to my blog! It's starting to feel that Christmas is getting near now. It's turned much colder hereabouts , after days of rain coming in sideways (Storm Barney was doing his worst!). OK, I'm a big kid, but I always hope for a white Christmas - and we don't get one very often at all. We do see plenty of robins and holly bushes, though. Today I'm showing you this Flying Robin card, which I made using the Bird Builder punch. Here's the tutorial -